9 easy steps to worm composting success
So, you’re ready to start worm composting! Here is your Worm Composting Quickstart Guide!
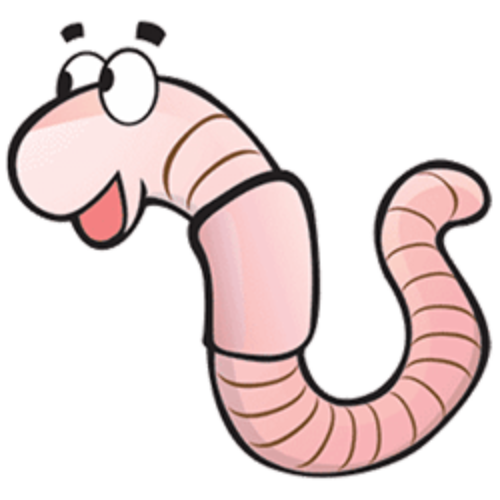
Worm Composting (Vermicomposting) is easy, convenient, good for the Earth, good for your plants, and fun. Worm composting allows you to responsibly dispose of your kitchen scraps (food waste) while at the same time creating a nutrient-rich compost (called vermicompost, worm poop) that you can use to make your indoor or outdoor plants healthier. Below is a worm composting quickstart guide with 9 easy steps to worm composting success.
- Buy my book to kickstart your worm composting education. I’ve written a ton of articles on vermicomposting for this site. They are free and searchable here. If you want a convenient, curated, “exactly what you need to know and nothing more” worm composting education, then buy the book. And, if you do, thank you! I really appreciate it and a portion of the proceeds are donated to this nonprofit fighting food insecurity in senior citizens. If you’d rather stick with piecing together free information, no problem (and no hard feelings) here is a great place to start. http://wormcomposting.wpengine.com/start-here.
- Make or buy your first bin. If you want to build your own bin, I recommend making a simple storage tub style worm bin.
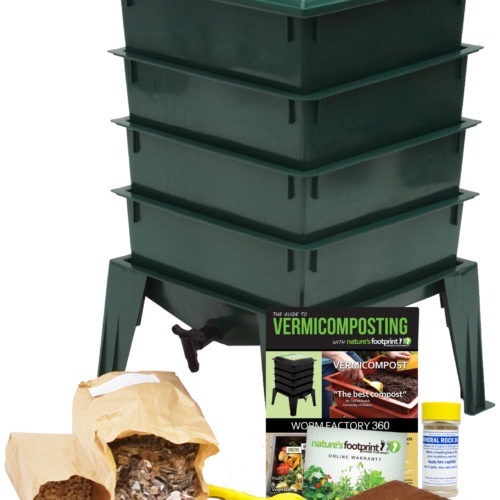
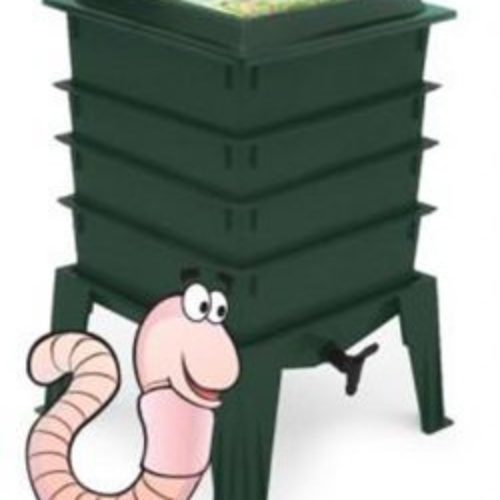
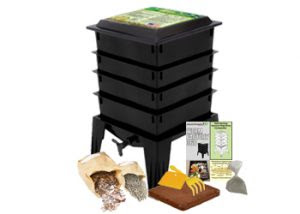
 Simply drill some air holes in the sides of the tub, fill it with moist worm bin bedding, and add composting worms. Here are some instructions. How to Make the Simplest Worm Bin. If you would rather purchase a high quality, flow through style worm bin (easier to manage, much easier to harvest worm compost), I recommend the Worm Factory 360 and I sell it through my website here. It is my favorite tray-harvesting-system worm bin and a good price point for the beginner who wants the easy to care for nature of a flow through system. Read my review of the system here. If you ever have any questions about set up or use, I am here to help, just email me. And, if you subscribe to my email newsletter, I will send you a discount code for a worm bin!
 - Order your composting worms. Eisenia Fetida (red wigglers) make the very best composting worms. When you are ready, you can order your composting worms online here through my website. Shipping is free and I guarantee live delivery. No one likes a box of dead worms.
- Set up your worm bin and add composting worms. This can be done the day your worms arrive or a couple days before. Learn more about setting up your worm bin and worm bin bedding here.
- Feed your composting worms. Red wigglers are voracious eaters. Depending on the conditions in the worm bin, they can eat between 1/4 and 1/2 of their weight everyday. So, if you have one pound of worms (roughly 1000 worms), you can expect them to eat 1/4 lb to 1/2 pound each day under ideal conditions. To determine how many worms you need to eat all the food scraps your family produces, do a Food Waste Audit. For more info read: Feeding Your Worms
- Get help. Are you stuck? Search my archive of worm composting “how to” articles using the search bar in the upper right on my website. If you can’t find what you are looking for, ask a worm composting question here. I’m happy to help.
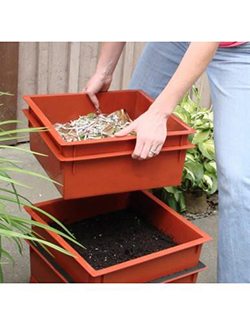
- Harvest worm poop. It will take around 6 months before you are able to harvest vermicompost for the first time. After that, you will be able to harvest a small amount every month or so depending on the size of your worm compost bin and your worm herd. Want vermicompost faster? Start with more composting worms and use a flow through worm bin like the Worm Factory 360 (for sale here). Most of my worm bins are ‘flow through’ worm bins where the worms are fed on top and the castings (worm poop) are harvested from the bottom. Using ‘flow through’ worm bins is the easiest way to harvest worm compost. I also use light and window screen to separate worms from the compost. Worms naturally move away from light, so spread your worm compost in a thin layer on a window screen placed on top of your open worm bin and shine a bright light on your worms. They will move away from the light, down through the screen, and back into your bin. For more information about harvesting castings read: How to Harvest Castings

- Use your worm compost. Worm castings make great nutrient-rich natural fertilizers that will make any plant grow. I use them in several ways: sprinkling them around the stems of existing plants, making a worm casting compost tea out of them to water plants, and adding them to my seed-starting mix. For more information about using worm castings read: Using Worm Compost
- Split your worm bin. Share worm composting with a friend. (Don’t forget to also share this worm composting quickstart guide with them). Is everything going well for you in your worm composting hobby? Are your composting worms happy, healthy, and multiplying? Then it may be time to split your bin so that you can share one with a friend or double your worm composting capacity. Here are instructions for splitting your worm bin. To get your new bin off to a great start, order a worm bin refill kit here. Here are instructions on splitting a worm bin.
That’s it! If you follow these 9 steps in the worm composting quickstart guide, your composting worms will be off to a great start.

-
Out of Stock
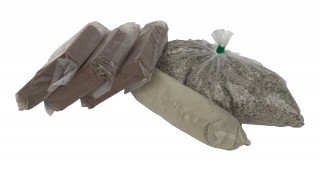
1lb Red Wiggler Worms
1lb Red Wiggler Worms
$49.95SaleWorm Factory 360
Select options This product has multiple variants. The options may be chosen on the product pageWorm Factory 360
Price range: $139.99 through $179.95Out of StockWorm Factory 360 With Worms
Select options This product has multiple variants. The options may be chosen on the product pageWorm Factory 360 With Worms
Price range: $169.95 through $179.95SaleWorm Factory Refill Package
Add to cartWorm Factory Refill Package
Original price was: $39.99.$35.99Current price is: $35.99.Related posts