Step by Step Instructions for Setting up your First Home Vermicomposting System
Worm Composting (Vermicomposting) is easy, convenient, good for the Earth, good for your plants, and fun. Worm composting allows you to responsibly dispose of your kitchen scraps (food waste) while at the same time creating a nutrient-rich compost (called vermicompost, worm poop) that you can use to make your indoor or outdoor plants healthier. This article contains step by step instructions for how to make the simplest worm composting bin for your home or office.
If you would like an overview of worm composting and caring for worms please read: Getting Started with Worm Composting
To make the simplest worm composting bin you will first need to gather your tools and supplies. You will need:
- One 14 – 20 gallon plastic storage tub with a lid
- A drill and drill bit (any size close to ½ inch)
- LOTS of shredded newspaper (way more than you think!)
- A bucket of water
- ½ to a pound (or more) of red wigglers (Eisenia Fetida is the scientific name). You can order them online here.
Step by Step Instructions for Building the Simplest Worm Composting Bin
- Drill air holes in the sides of the storage tub. The storage tub will be the bin that the worms live in and earthworms need to breathe (through their skin!). Six to ten evenly spaced holes on each side is enough. The worms will not crawl out the holes because they will die outside of their moist worm bedding.

- Shred or rip up the newspaper. Your red wiggler composting worms need bedding to live in. Any carbon source will work as worm bedding but for the purposes of this article we will be using shredded newsprint (no glossy paper). Rip the newsprint into 1 inch strips.
- Red Wigglers (Eisenia Fetida) need a moist environment in order to live. They breath through their skin and if their skin ever dries out they are unable to breath. You will be building you worm bed with shredded, soaked newspaper. Put all the ripped newsprint strips into the bucket of water and submerge them.
- Wait 5 minutes for the newsprint to soak up the water.
- Fill the storage tub (homemade worm bin) with the shredded soaked newspaper. Pick up handfuls of the newsprint and let the water run out of it for 10 seconds or so before adding it to the bin. Red wriggler worms like a moist environment similar to a wet sponge. They don’t like swimming. There should never be standing water in the bottom of your homemade worm bin. If there is standing water, either add some dry bedding or drain some of the water off.
- Fill the worm bin (or worm farm) at least half full with the shredded soaked newspaper.
- Add a handful of dirt or homemade compost. Earthworms have gizzards similar to chickens. They do not have teeth. The dirt or compost will give them tiny bits of grit and sand that they can eat and use in their gizzards to grind up the food scraps that you will feed them.
- Add your worms. I recommend starting a homemade bin of this size with 1 pound of composting red worms. If you are ready to get started, Buy Composting Worms Now. The worms will multiply (remember one of their 3 jobs is to make babies). So, the amount of red worms you start with really depends on how productive you want your homemade worm bin to be right away and how much you are willing to spend.

A Handful of Red Wiggler Composting Worms - Put the lid on the bin and leave it alone for 2 days in a lighted room or closet. Earthworms like to explore their new home. In the first two days they will crawl all over the inside of your worm bin. Worms don’t like light so leaving a light on in the room or closet encourages them to stay in the bin. After 2 days, if you are taking good care of them, they won’t ever leave the bin.
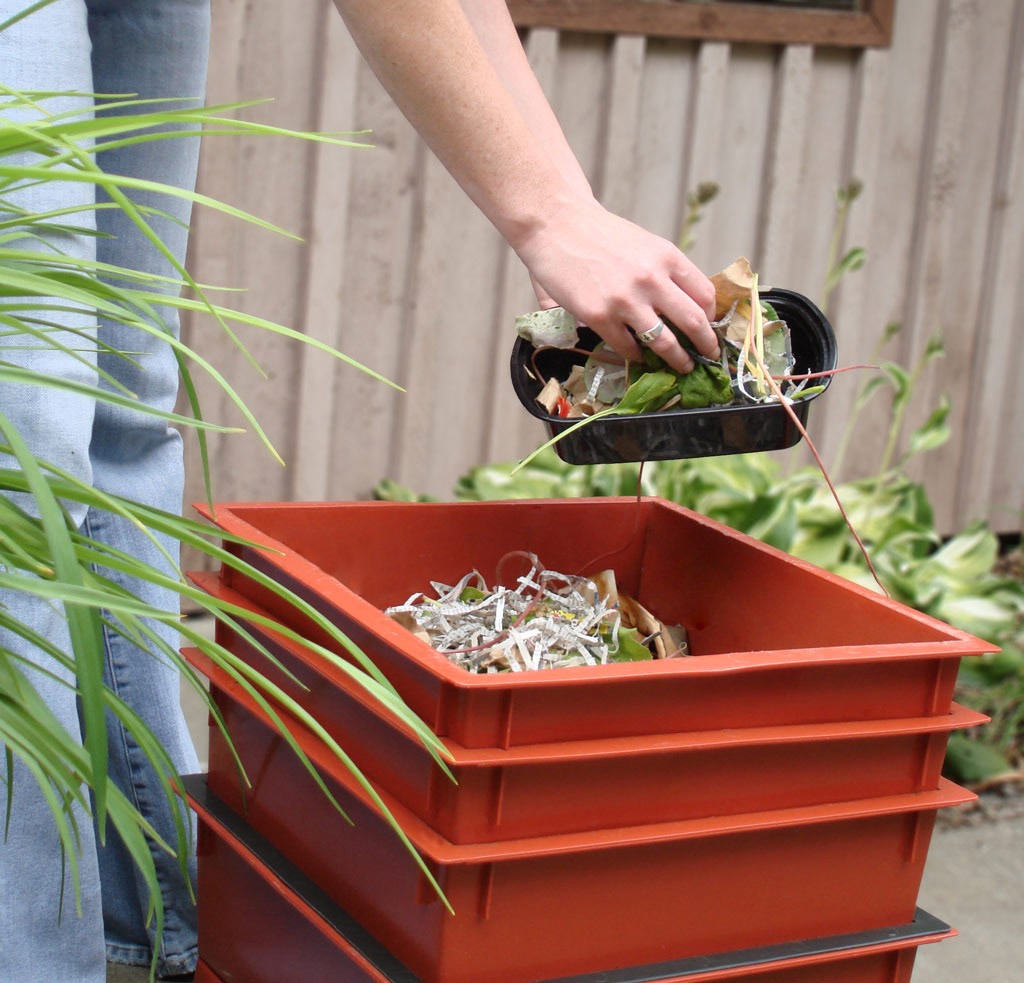
- Feed your worms. Pull some of the bedding back on one side and add some food scraps. Then, cover the vegetable food scraps with the worm bedding. Remember worms are vegetarian, don’t feed them any meat or dairy. Be careful not to overfeed them. Start with a small amount and monitor how fast they eat it. When it is gone or mostly gone add some more.
- Be patient. Composting worms can take up to two weeks to settle into their new worm bin and start eating the food scraps.
- Feed more. You should feed your worms once or twice a week depending on how much you feed them each time and how many worms you started with.
- Harvest the worm poop! (vermicompost). One of the benefits of worm composting is the worms’ poop which is very nutrient-rich compost. Vermicompost (the fancy name for worm poop) is really good for all indoor and outdoor plants and excellent to add to a vegetable garden. It will take around 6 months before you are able to harvest for the first time. After that you will be able to harvest a small amount every month or so. There are a couple ways to harvest worm castings (yet another name for worm poop). Start by simply digging down to the bottom of the bin and grabbing a handful of the vermicompost. You can either add that to your garden or pick out the worms and then add it to your garden. For more ways to harvest worm compost read: How to Harvest Worm Compost: Learn 7 different methods for Harvesting your nutrient-rich worm poop!
That’s it! You’re done. Now you know who to make a homemade worm composting bin or vermicomposting bin and some of the benefits of vermicomposting. Enjoy your new role as a worm farmer. If you have kids, be sure to get them involved in caring for the worms. Kids love it. Read Worm Composting for Kids for tips and ideas.
If this article was helpful to you, please share it with a friend. Thanks!

-
Sale
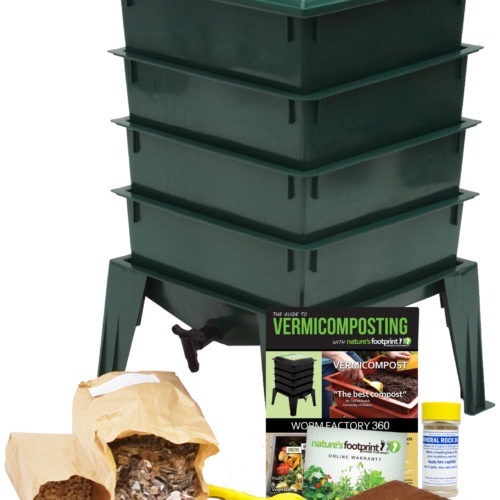
Worm Factory 360
Select options This product has multiple variants. The options may be chosen on the product pageWorm Factory 360
Price range: $139.99 through $179.95Out of StockWorm Factory 360 With Worms
Select options This product has multiple variants. The options may be chosen on the product pageWorm Factory 360 With Worms
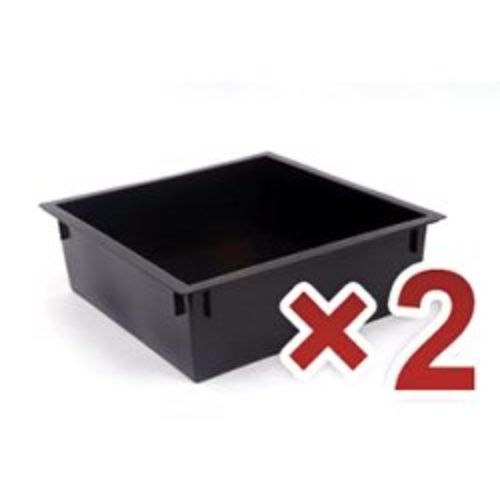
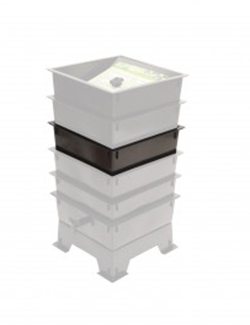
Price range: $169.95 through $179.95SaleExtra Worm Factory Tray (2 Pack)
Add to cartExtra Worm Factory Tray (2 Pack)
Original price was: $45.95.$38.95Current price is: $38.95.Related posts
 Read More
Can you add grass clippings to a worm bin? Yes, but do it carefully. Green Grass Clippings Green grass clippings should be considered a nitrogen or worm food source. So,