 What Container and Materials Should You Use for a Homemade Worm Composter?
Vermicomposting Bin Design Questions Answered
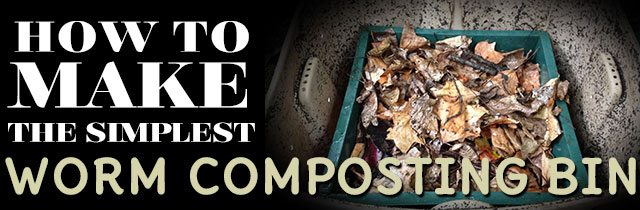
Worm composting is a form of composting in which you feed your veggie food scraps to a specific type of earthworm called red wiggler composting worms or Redworms. Red wiggler composting worms need some sort of bin or container to live in. Almost any type of container can be used as a worm composting bin or you can build your own to meet your needs and those of your composting worms. This article will give you recommendations on what type of container or material to use as you learn how to build a homemade worm composting container.
New to Worm Composting? Be sure to read: Start Here – If you are brand new to worm composting, welcome! This is the place to start!
Factors to Consider When Building Your Homemade Worm Composter
Air Flow – Worms breathe through their skin and need air to live. You will need to allow your composting worms access to fresh air. This can easily be done by drilling holes in the sides of the worm composting container or bin, or by installing some sort of vent (in a larger vermicomposting system). You could also choose to leave your worm bin open on top, provided you are planning to keep it inside a house, shed, or garage.
Will your worms live inside or outside? – The answer to this question will determine if you need to think about insulating your bin in some way to make sure the worms stay within their ideal temperature range. The ideal temperature range is the range in which they eat and poop the most. Too much heat will kill composting worms and freezing temperatures will also kill composting worms. Foam or Styrofoam insulation can be built into the walls of the worm composting bin or you could go the low tech method of simply piling hay bales around the worm composting container in the winter. You can easily learn to proper vermicomposting management so that you will not have to worry about worms leaving the bin or the worm bin stinking. I keep a homemade worm composting container under my desk at work and have had no problems.
 Size – The amount of food scraps (usually measured by weight) you want to compost should determine the size of your worm composting container. The size of the composting container (more specifically the volume of the bedding in the worm composting bin) will determine the size of your red worm population. The size of your red wiggler worm population will determine how much and how often you can feed the composting worms. Before you start worm composting, do a little experiment to determine what size vermicomposting system you need. Track and weigh your food waste each day for a couple of weeks. This will give you a good “per day” average. You can use your “per day” average to calculate what size container (and red wiggler worm population) you will need to get the job done.
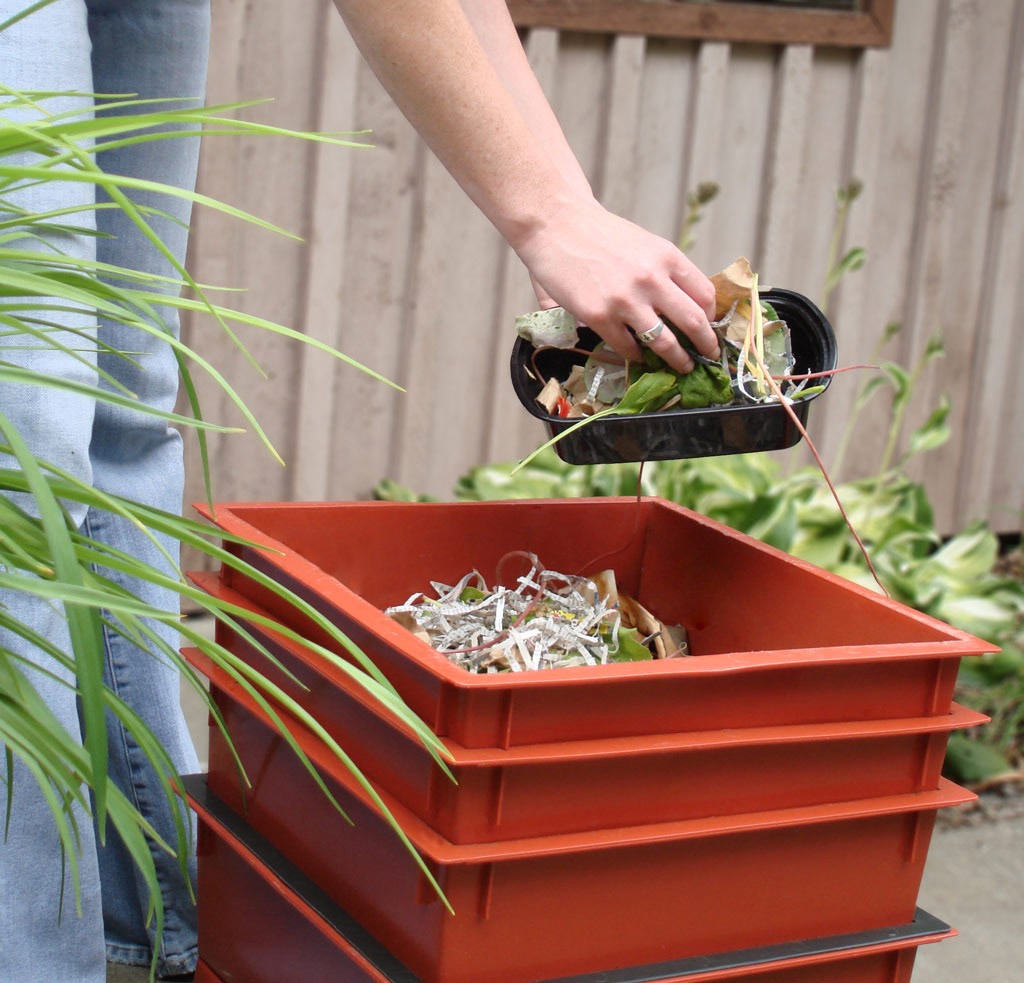
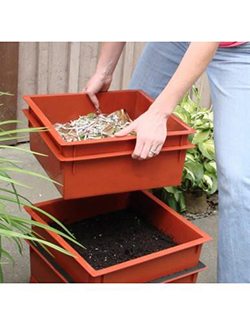
Worm Casting Harvesting Method – Worm composting containers vary in how easy it is to harvest the worm castings (vermicompost). If you choose to use some sort of storage tote, bin, or box, separating your composting worms from your vermicompost will be a bit of a challenge.
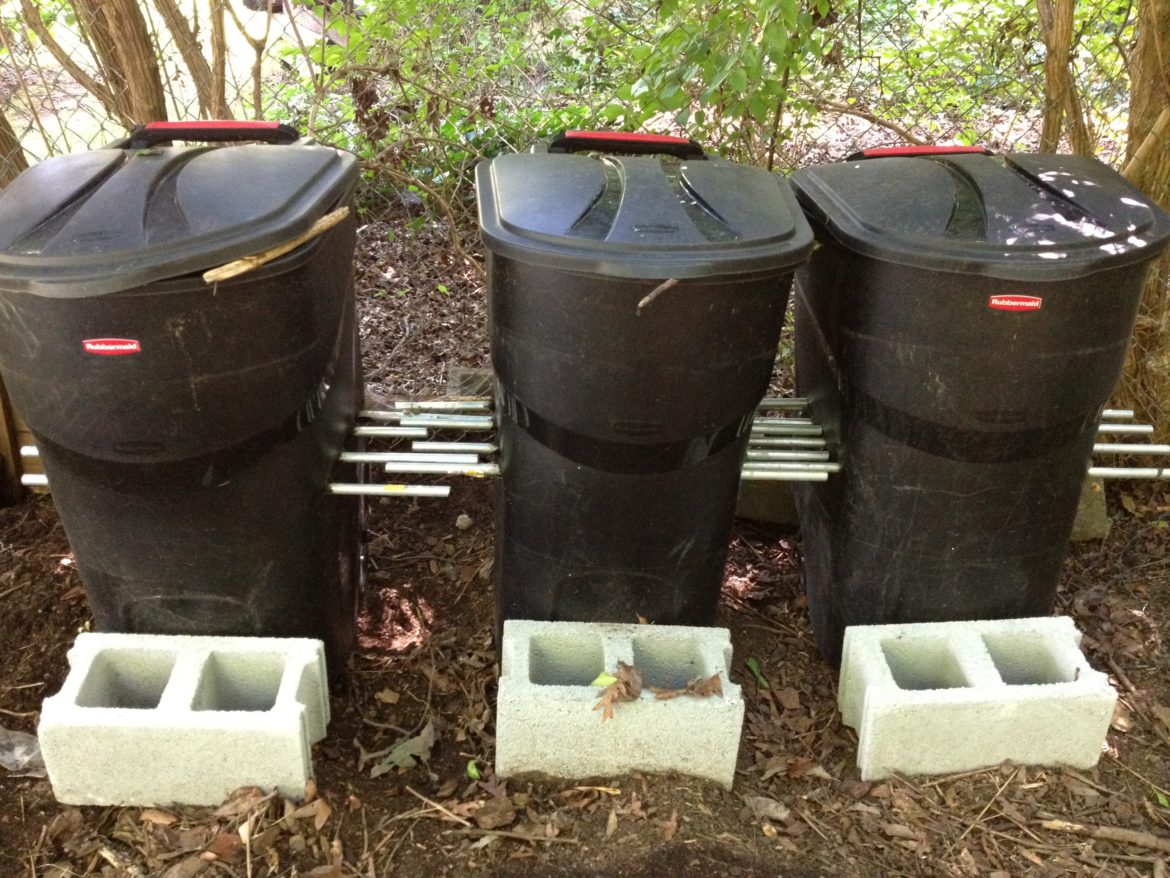
In contrast, a flow through worm digester is more difficult to initially set up (and can be more expensive) but makes harvesting vermicompost much much simpler. In a flow through digester the worm bedding is held up by a grate, wires, or some sort of tubing that is raised off the ground. The composting worms eat upwards, leaving their nutrient-rich worm castings behind on the bottom level which then falls through the grate (hopefully worm free) so you can easily scoop the vermicompost up and use it however you want. Trash cans can easily be turned into flow through worm digesters. Simply cut a hole in one of the sides near the bottom and install a grate above the hole to support the worm bedding.
The very simplest way to harvest is not to harvest at all. Did I just blow your mind? Simply, dig a hole or trench right where you want the nutrient-rich worm castings to eventually be (like in your vegetable garden!). Then, fill the hole with worm bedding, composting worms, and food scraps. Use a board as a cover and manage the system the same way you would a worm bin or worm composting container. Instead of needing to harvest the worm castings to add them to your garden, the nutrient-rich worm poop will seep into the ground around your in-ground worm composter. I rotate the in-ground worm composter location each season in my garden so that eventually the whole garden will be enriched.
What sort of Container Should You Use as your Homemade Worm Composter?
Anything – As long as you follow correct vermicomposting principles, almost any container can be used as a homemade worm composting container. I have personally had success using: storage totes, wooden boxes, plastic containers, an old chest freezer, a cracked ice chest, and several rolling trash cans.
 Plastic Storage Tub – Rubbermaid style storage totes or tubs are most commonly used by beginners. They are cheap and very simple to get started. For detailed instructions on make a worm bin from a storage tub read How to Make a Worm Composting Bin
Small Plastic Tub – Some families choose to keep a small plastic worm composting tub in their kitchen closet or under their sink for easy access to food scraps. Using a clear tub is fun (especially for worm composting with kids) because you can see the worms moving around as they work.
Wood – Wood is cheap and easy to find. Because the bedding needs to be wet, the wood will rot in a handful of years. Be sure not to use painted wood on the inside of the bin as this could affect the worms. Using wood also gives you great flexibility in the design and size of your worm composting bin.
Old Freezer or Ice Chest – These work particularly well because they already have built in insulation. Drilling holes is very difficult though. I have found that venting them by leaving the lid cracked works well.
Trash Can – A trash can makes an excellent flow through worm digester or large simple worm bin. If you opt for the rolling trash can, you have the added benefit that it is easy to move.
 No bin, Just a Hole in the Ground – As I mentioned above, you can worm compost in the ground right where you want the benefits of the nutrient rich worm castings. I use this technique in my vegetable garden but you could easily also do this in your flower bed.
Following sounds vermicomposting principals, almost any container can be converted into a homemade worm composter. Chances are you have some sort of old storage bin or ice chest right now that you could use. Or, you may choose to design and build your own worm composting bin. Either way, get started soon and enjoy your composting worms!
Worm Composting Bins for Sale
If you would rather purchase a worm composting bin, I recommend first reading my worm bin reviews article.

-
Sale
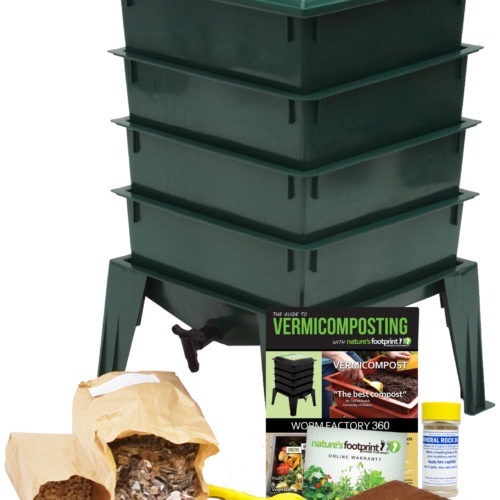
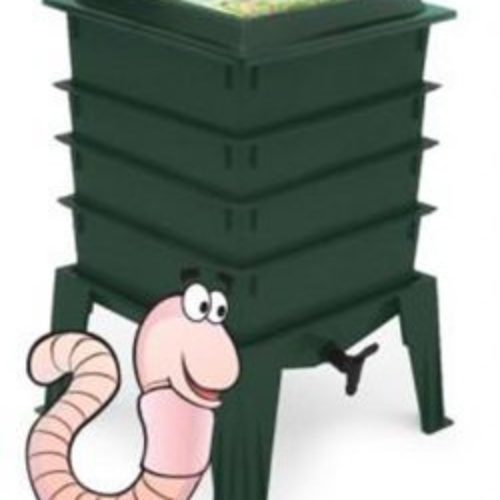
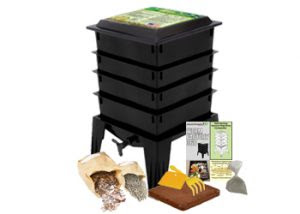
Worm Factory 360
Select options This product has multiple variants. The options may be chosen on the product pageWorm Factory 360
Price range: $139.99 through $179.95Out of StockWorm Factory 360 With Worms
Select options This product has multiple variants. The options may be chosen on the product pageWorm Factory 360 With Worms
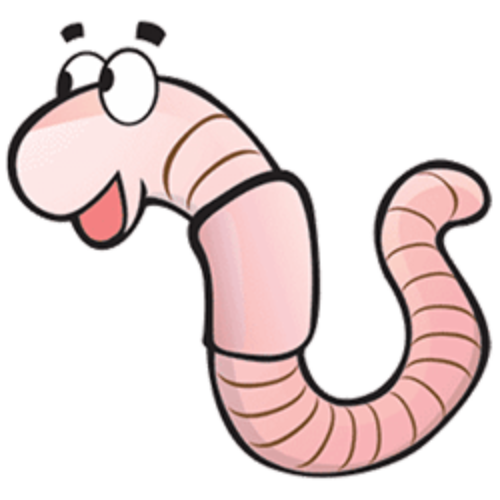
Price range: $169.95 through $179.95Out of Stock1lb Red Wiggler Worms
1lb Red Wiggler Worms
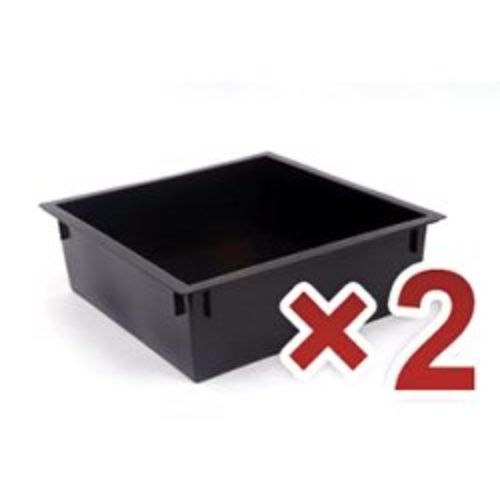
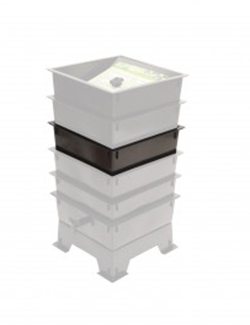
$49.95SaleExtra Worm Factory Tray (2 Pack)
Add to cartExtra Worm Factory Tray (2 Pack)
Original price was: $45.95.$38.95Current price is: $38.95.Related posts
 Read More
Can you add grass clippings to a worm bin? Yes, but do it carefully. Green Grass Clippings Green grass clippings should be considered a nitrogen or worm food source. So,
Comment ( 1 )
Pingback:How to Get Rid of Fruit Flies Fast: 9 easy steps (Fruit flies will come back if you skip #5) | Worm Composting Headquarters